



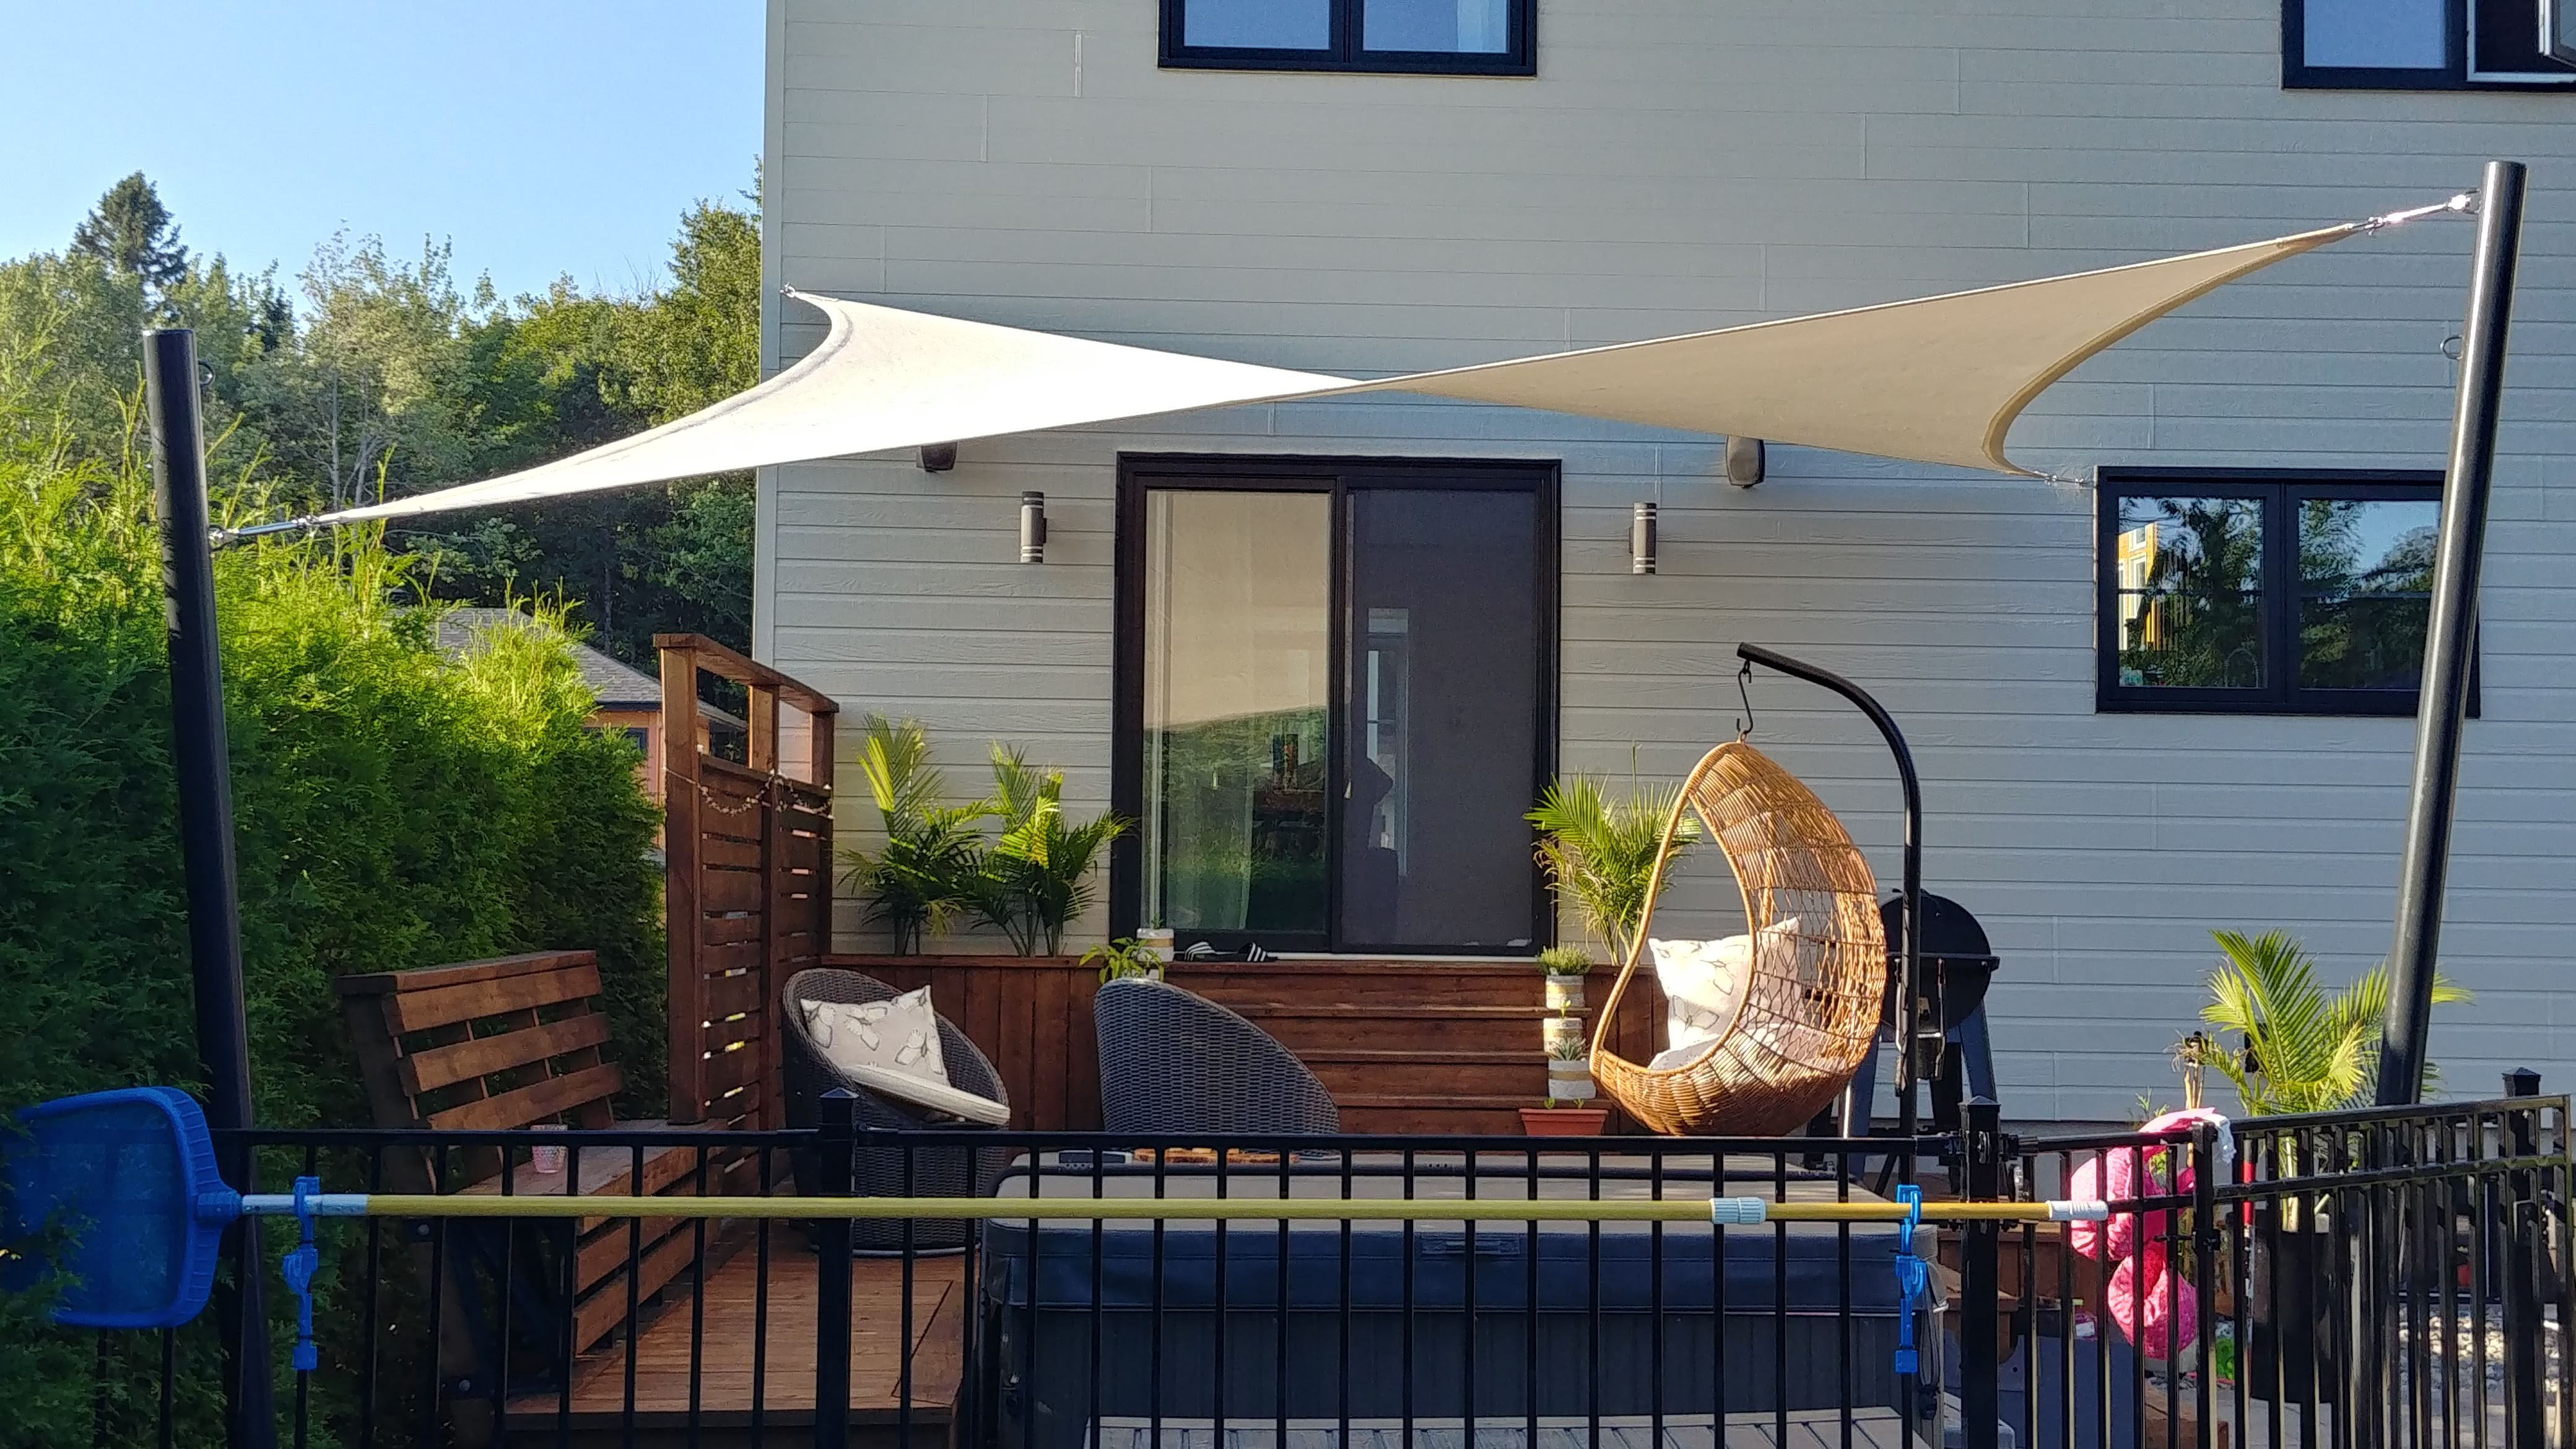
Properly Installing a Shade Sail can elevate your outdoor space, offering shade, style and comfort. Whether you’re a DIY enthusiast or a first-time, this simplified step-by-step guide will walk you through whats involced for the installation process.
At this stage, your fixing locations should already be confirmed and mounting points installed. This helps ensure your Shade Sail will look smooth, tight, and stable once the install is finished.
For the full PDF installation Guides, you can access these here.
1. Gather Tools and Materials
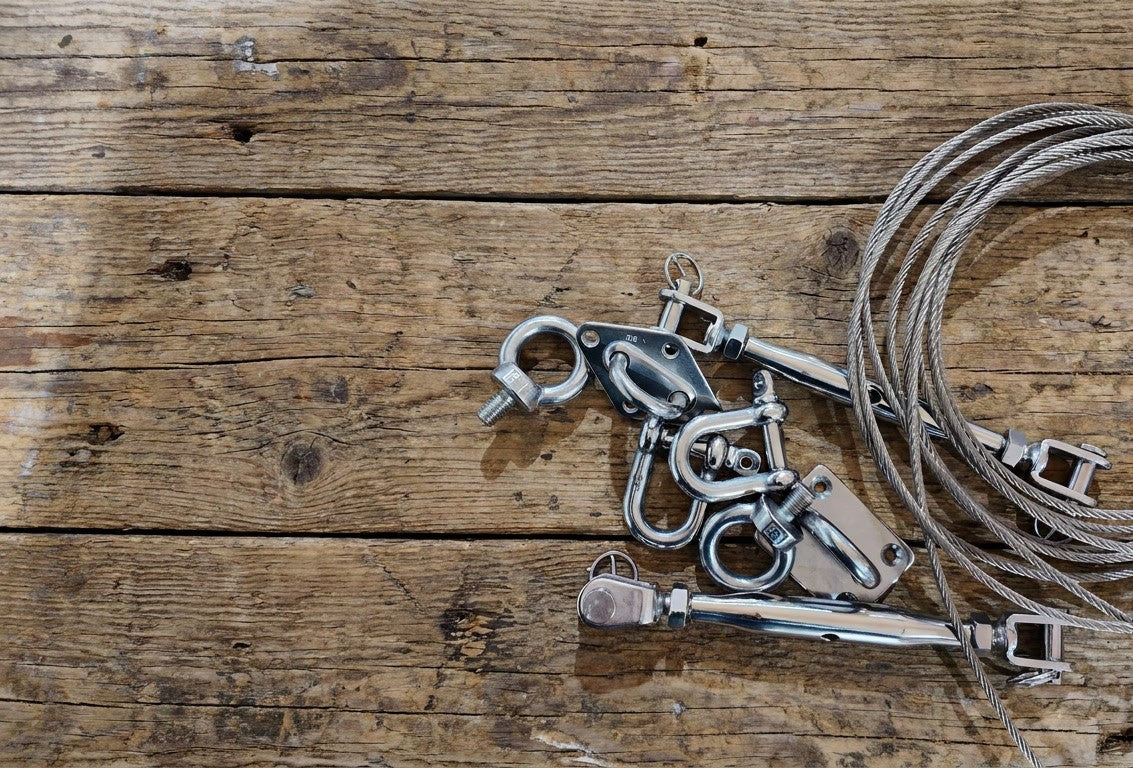
Before you begin, ensure you have everything you need for a smooth installation. From your Shade Sail, Fixing Hardware & Nulan Grease to any tools that you may require.
We would recommend always having another person available to assist you throughout the installation.
2. Prepare the area
Wherever possible, clear the area where you will be installing the Shade Sail to ensure an easy and safe installation. Remove any obstacles, furniture, or debris and confirm the area especially beneath each mounting point is accessible.
3. Getting your Sail Ready
Unpack your sail onto a smooth flat surface, positioning it underneath the mounting points. Check the orientation carefully, ensuring the label & hems are on the underside of the sail, and the corners are aligned with their correct mounting points. Lay out all the fixing hardware and ensure you grease all threads to prevent them from cross-threading when tensioning.
4. Attaching the Sail
It’s now time to attach the Shade Sail. Note: At this stage we are only attaching the corners to get the sail in place, not adjusting the tension on any of the fixing hardware.
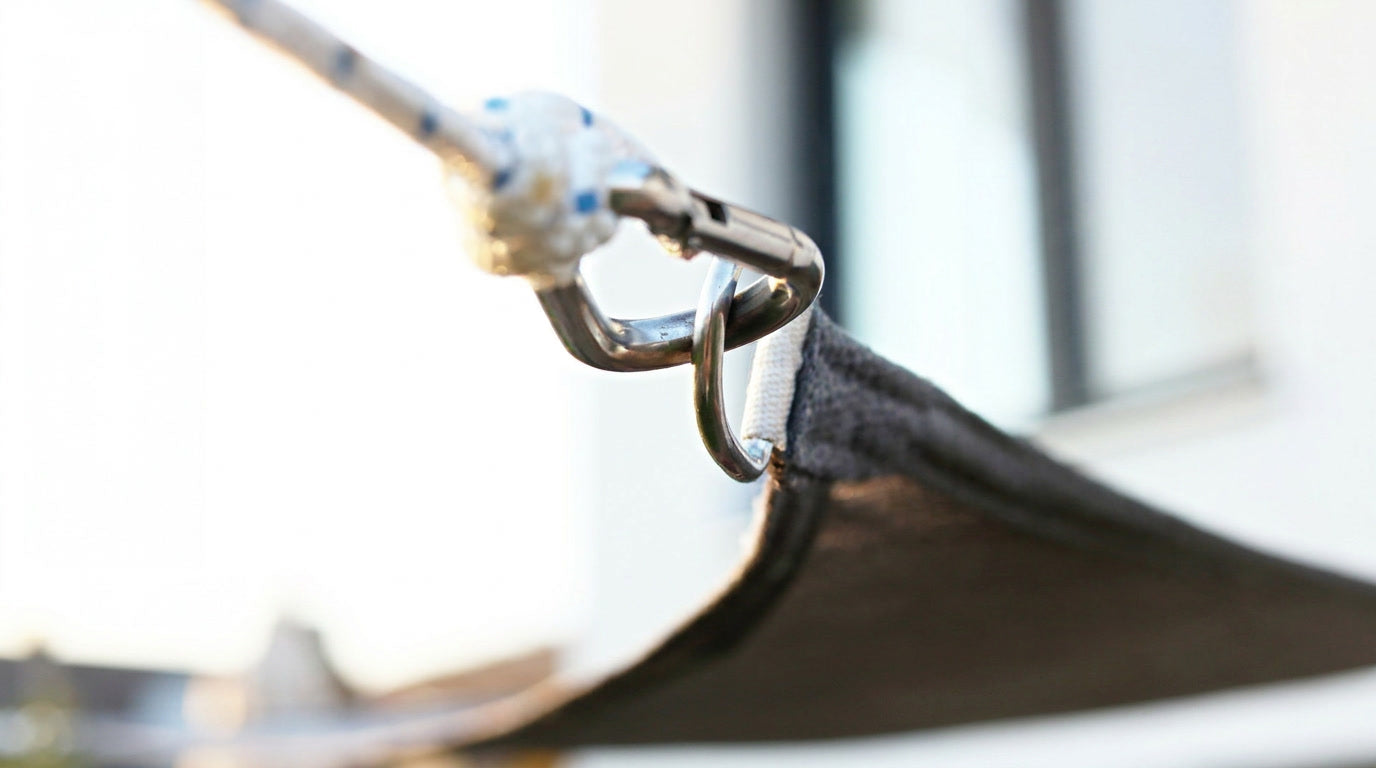
- Starting with one corner: Attach one corner of the sail to a mounting point using the allocated fixing hardware. E.g. D-Shackle + Turnbuckle.
- Attach the opposite corner: Moving diagonally across to the other corner, repeat the process to connect this to its mounting point using the allocated fixing hardware.
- Secure remaining corners: Now secure the remaining corners. Note: You will likely require the assistance of a strong rope or other item to help you pull the last corner into place.
A few Top Tips for this stage of installing your Sail:
- Keep all tensioners fully unwound/extended to make it easier to connect all the corners and to leave enough adjustment for later.
- Fixing Hardware – When attaching the hardware, always position these so the pins are inserted from the top. This will reduce the chance of a pin falling and getting lost if you lose grip of it.
- By attaching opposite corners this helps distribute the tension evenly across the sail shape and help prevent twisting during installation.
5. Tensioning the Hardware
If you have a Wire Edge Sail, now is the time to tighten off the wire rope grips to secure the wire length and lock it in place.
If you have a Webbing Edge sail, you are ready to get straight onto tensioning your hardware.
You now need to begin tightening the tensioners at each corner slowly and evenly. By working around the sail corners and progressively tensioning each corner, this will provide even tension across the whole sail. Ensure you tighten off any lock nuts on the turnbuckles.
Your sail will feel firm under tension but not tensioned so tightly it becomes misshapen. Any movement, twisting, or uneven loading should be corrected immediately before the sail is left under permanent tension.
6. Maintain your Shade Sail
Regular ongoing maintenance will help keep your Shade Sail in top condition.
- Clean you sail periodically using a mild detergent and water to remove dirt and debris.
- Inspect your fixings for any signs of ware or rust and replace any damaged components.
- Re-tension your sail as needed. Over time, the sail may stretch slightly, so tighten the fixings as necessary.
- In areas exposed to severe weather or high winds, temporary sail removal during extreme conditions will help reduce unnecessary stress on the fabric and mounting points.
Read our Maintenance Tips for the Longevity of your Shade Sails – for further details on best practices for maintaining your Shade Sail.
Conclusion: A durable Shade solution
Taking the time to install the sail correctly helps improve appearance, reduce fabric movement, and extend the life of the entire system. By following these steps and performing regular maintenance, your Shade Sail will provide reliable comfort and style for years to come. It’s now time to enjoy your beautiful, shaded space!
For your full installation guide, select your Shade Sail type below.
What might your next project be?
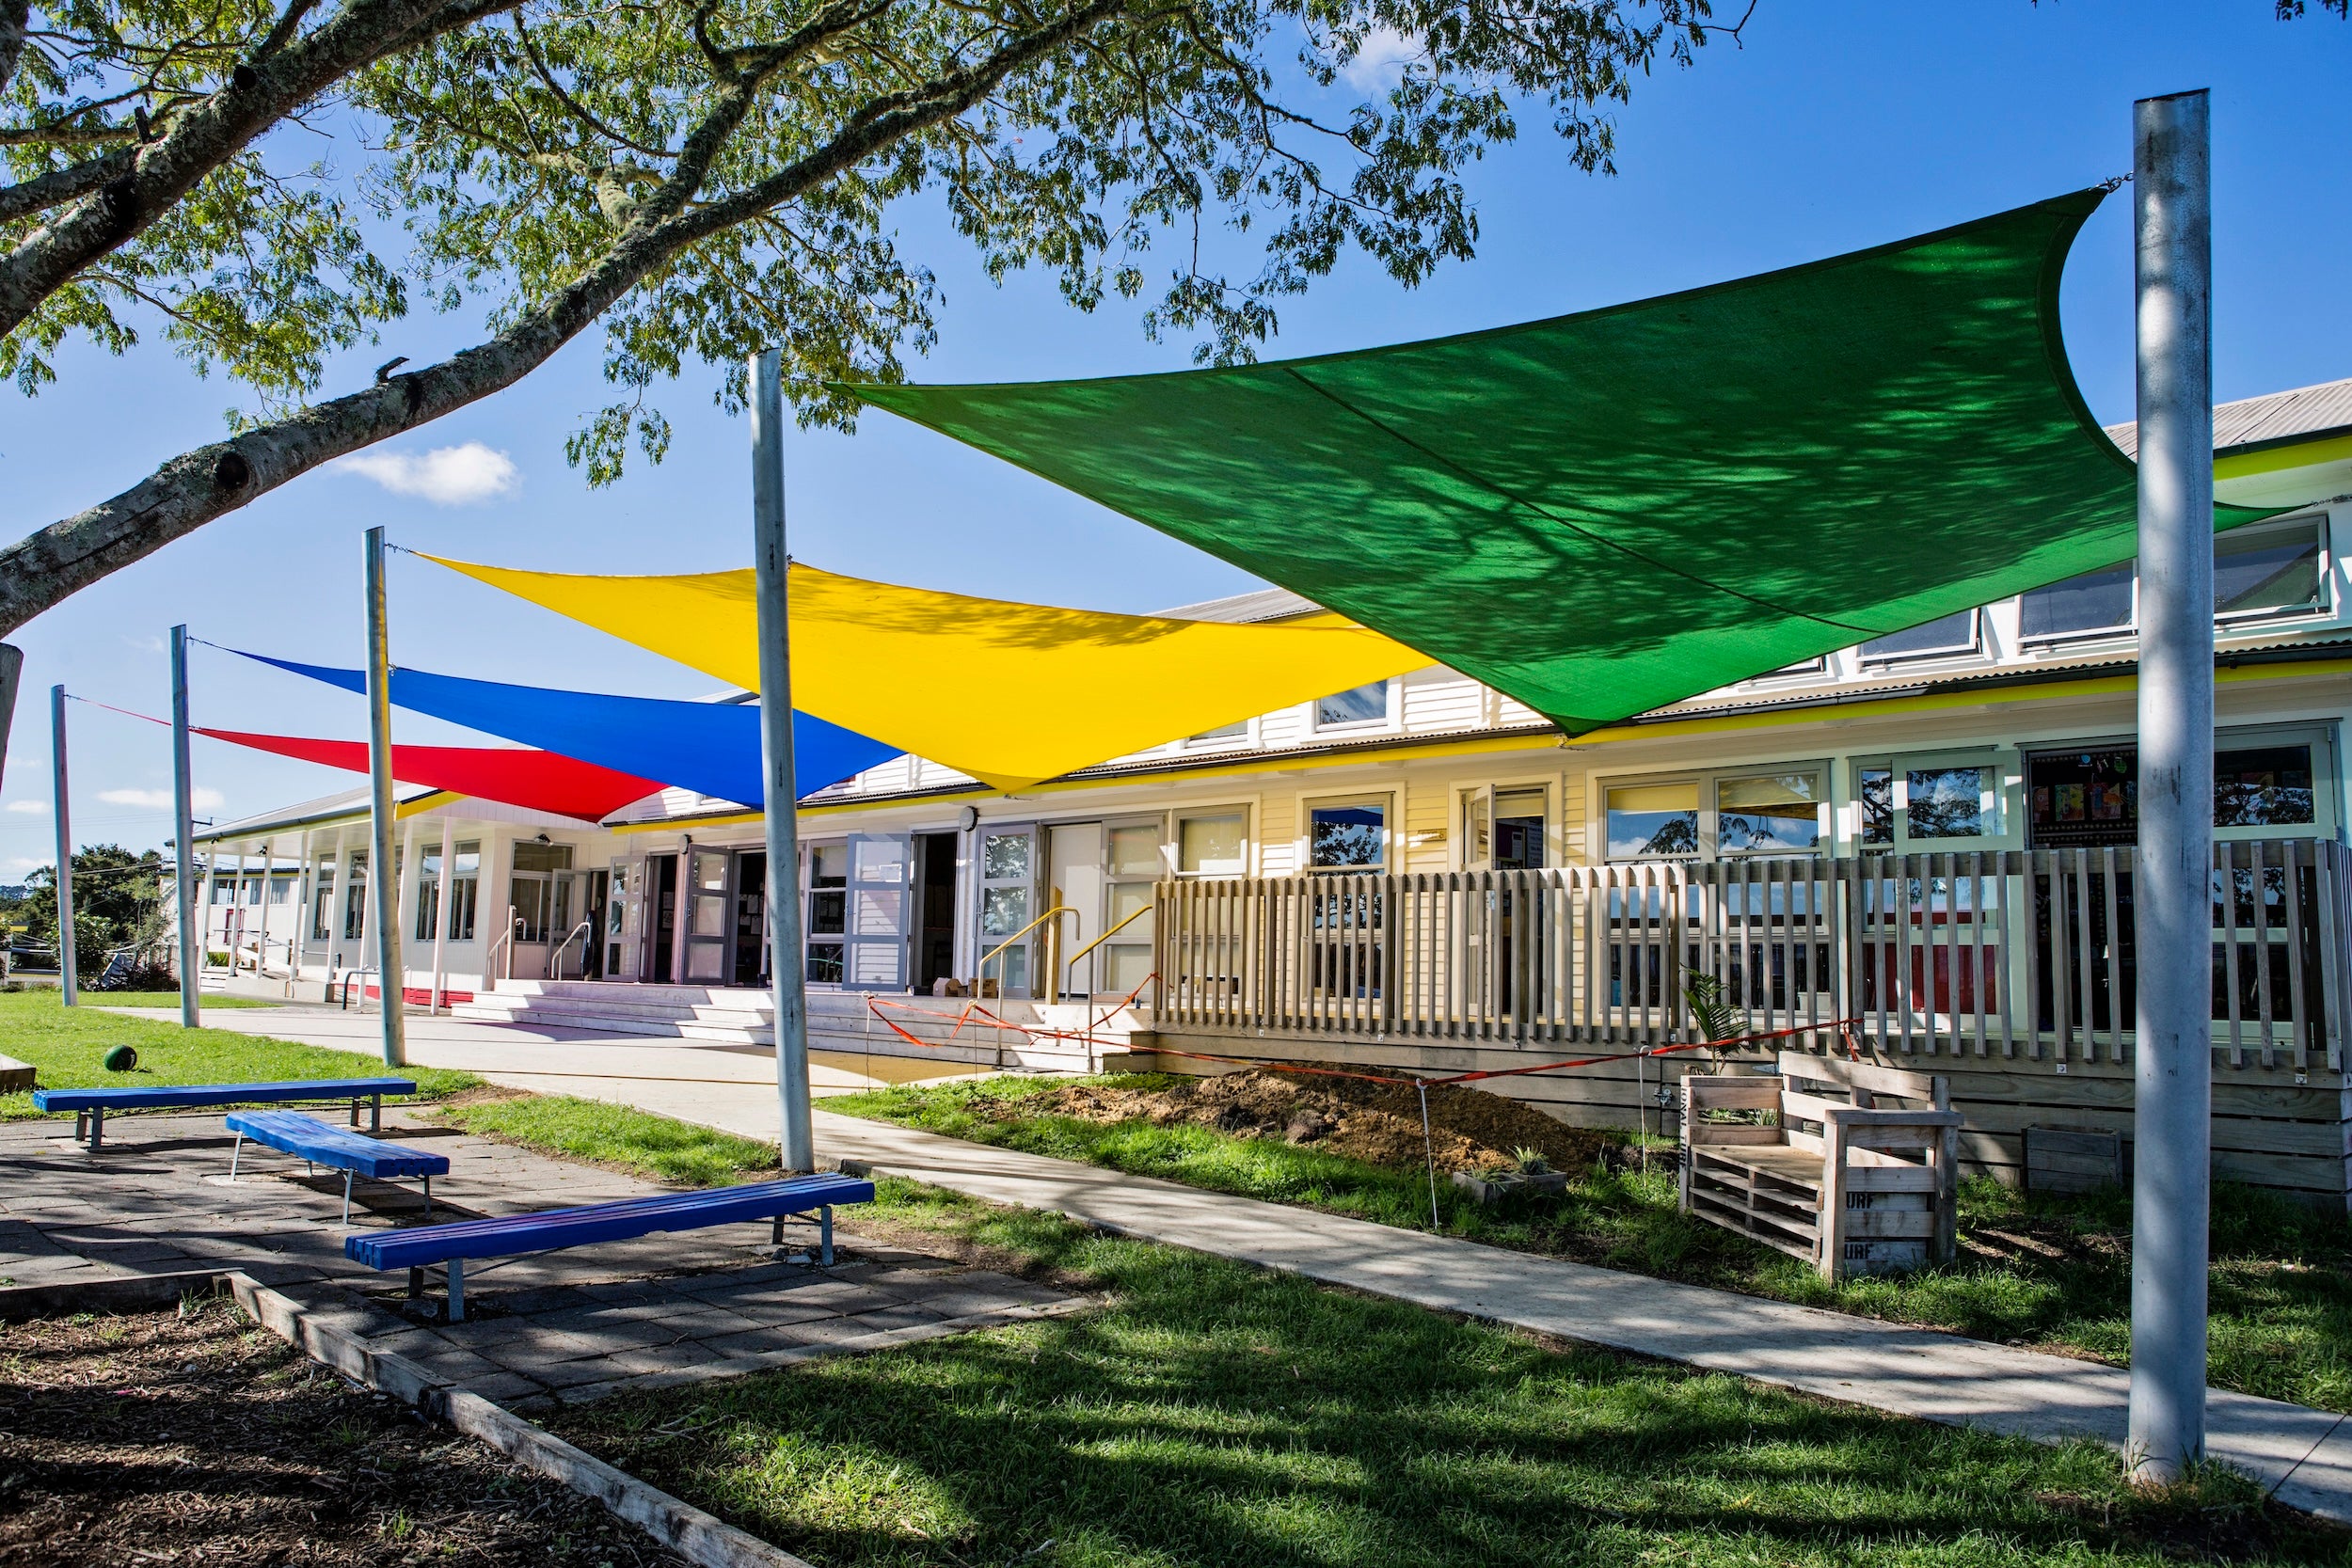

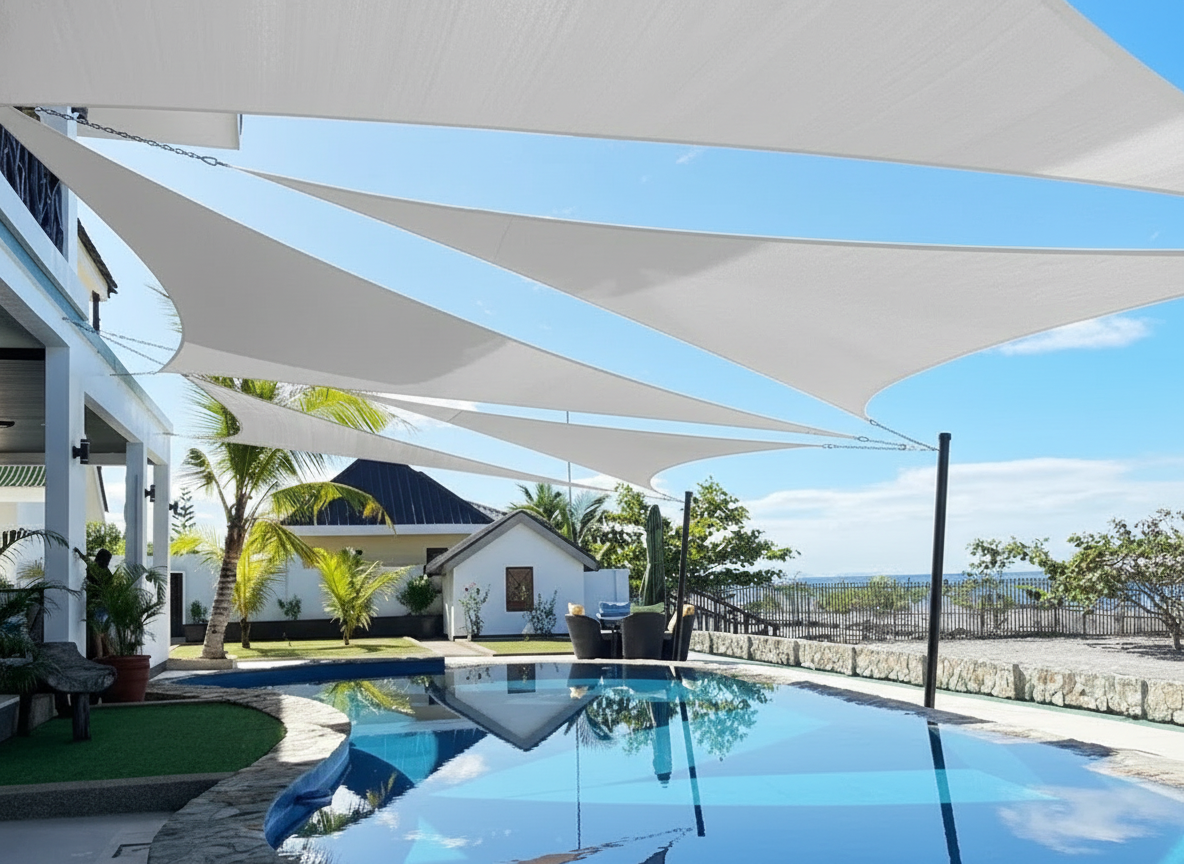

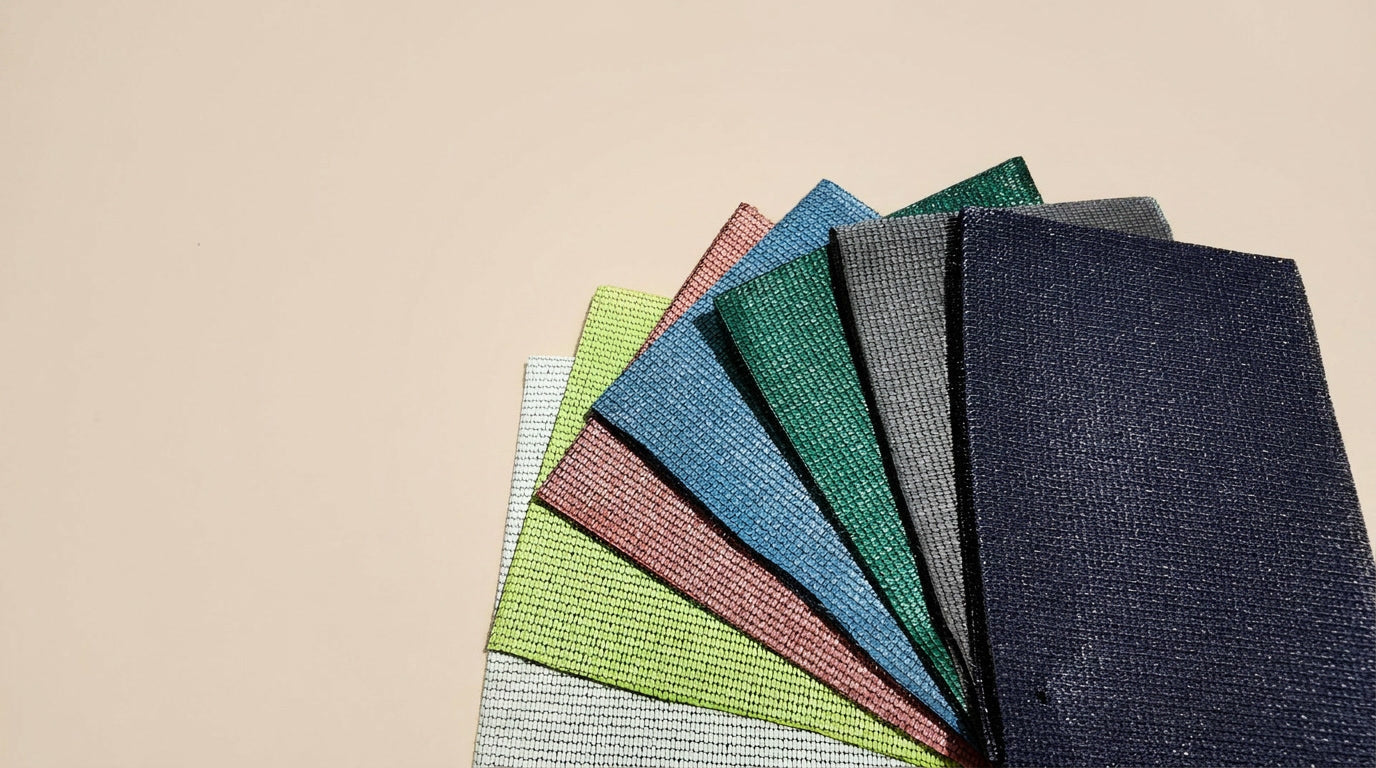



Share:
How to Measure a Shade Sail
DIY Square and Rectangle Shade Sail Installation in Australia