




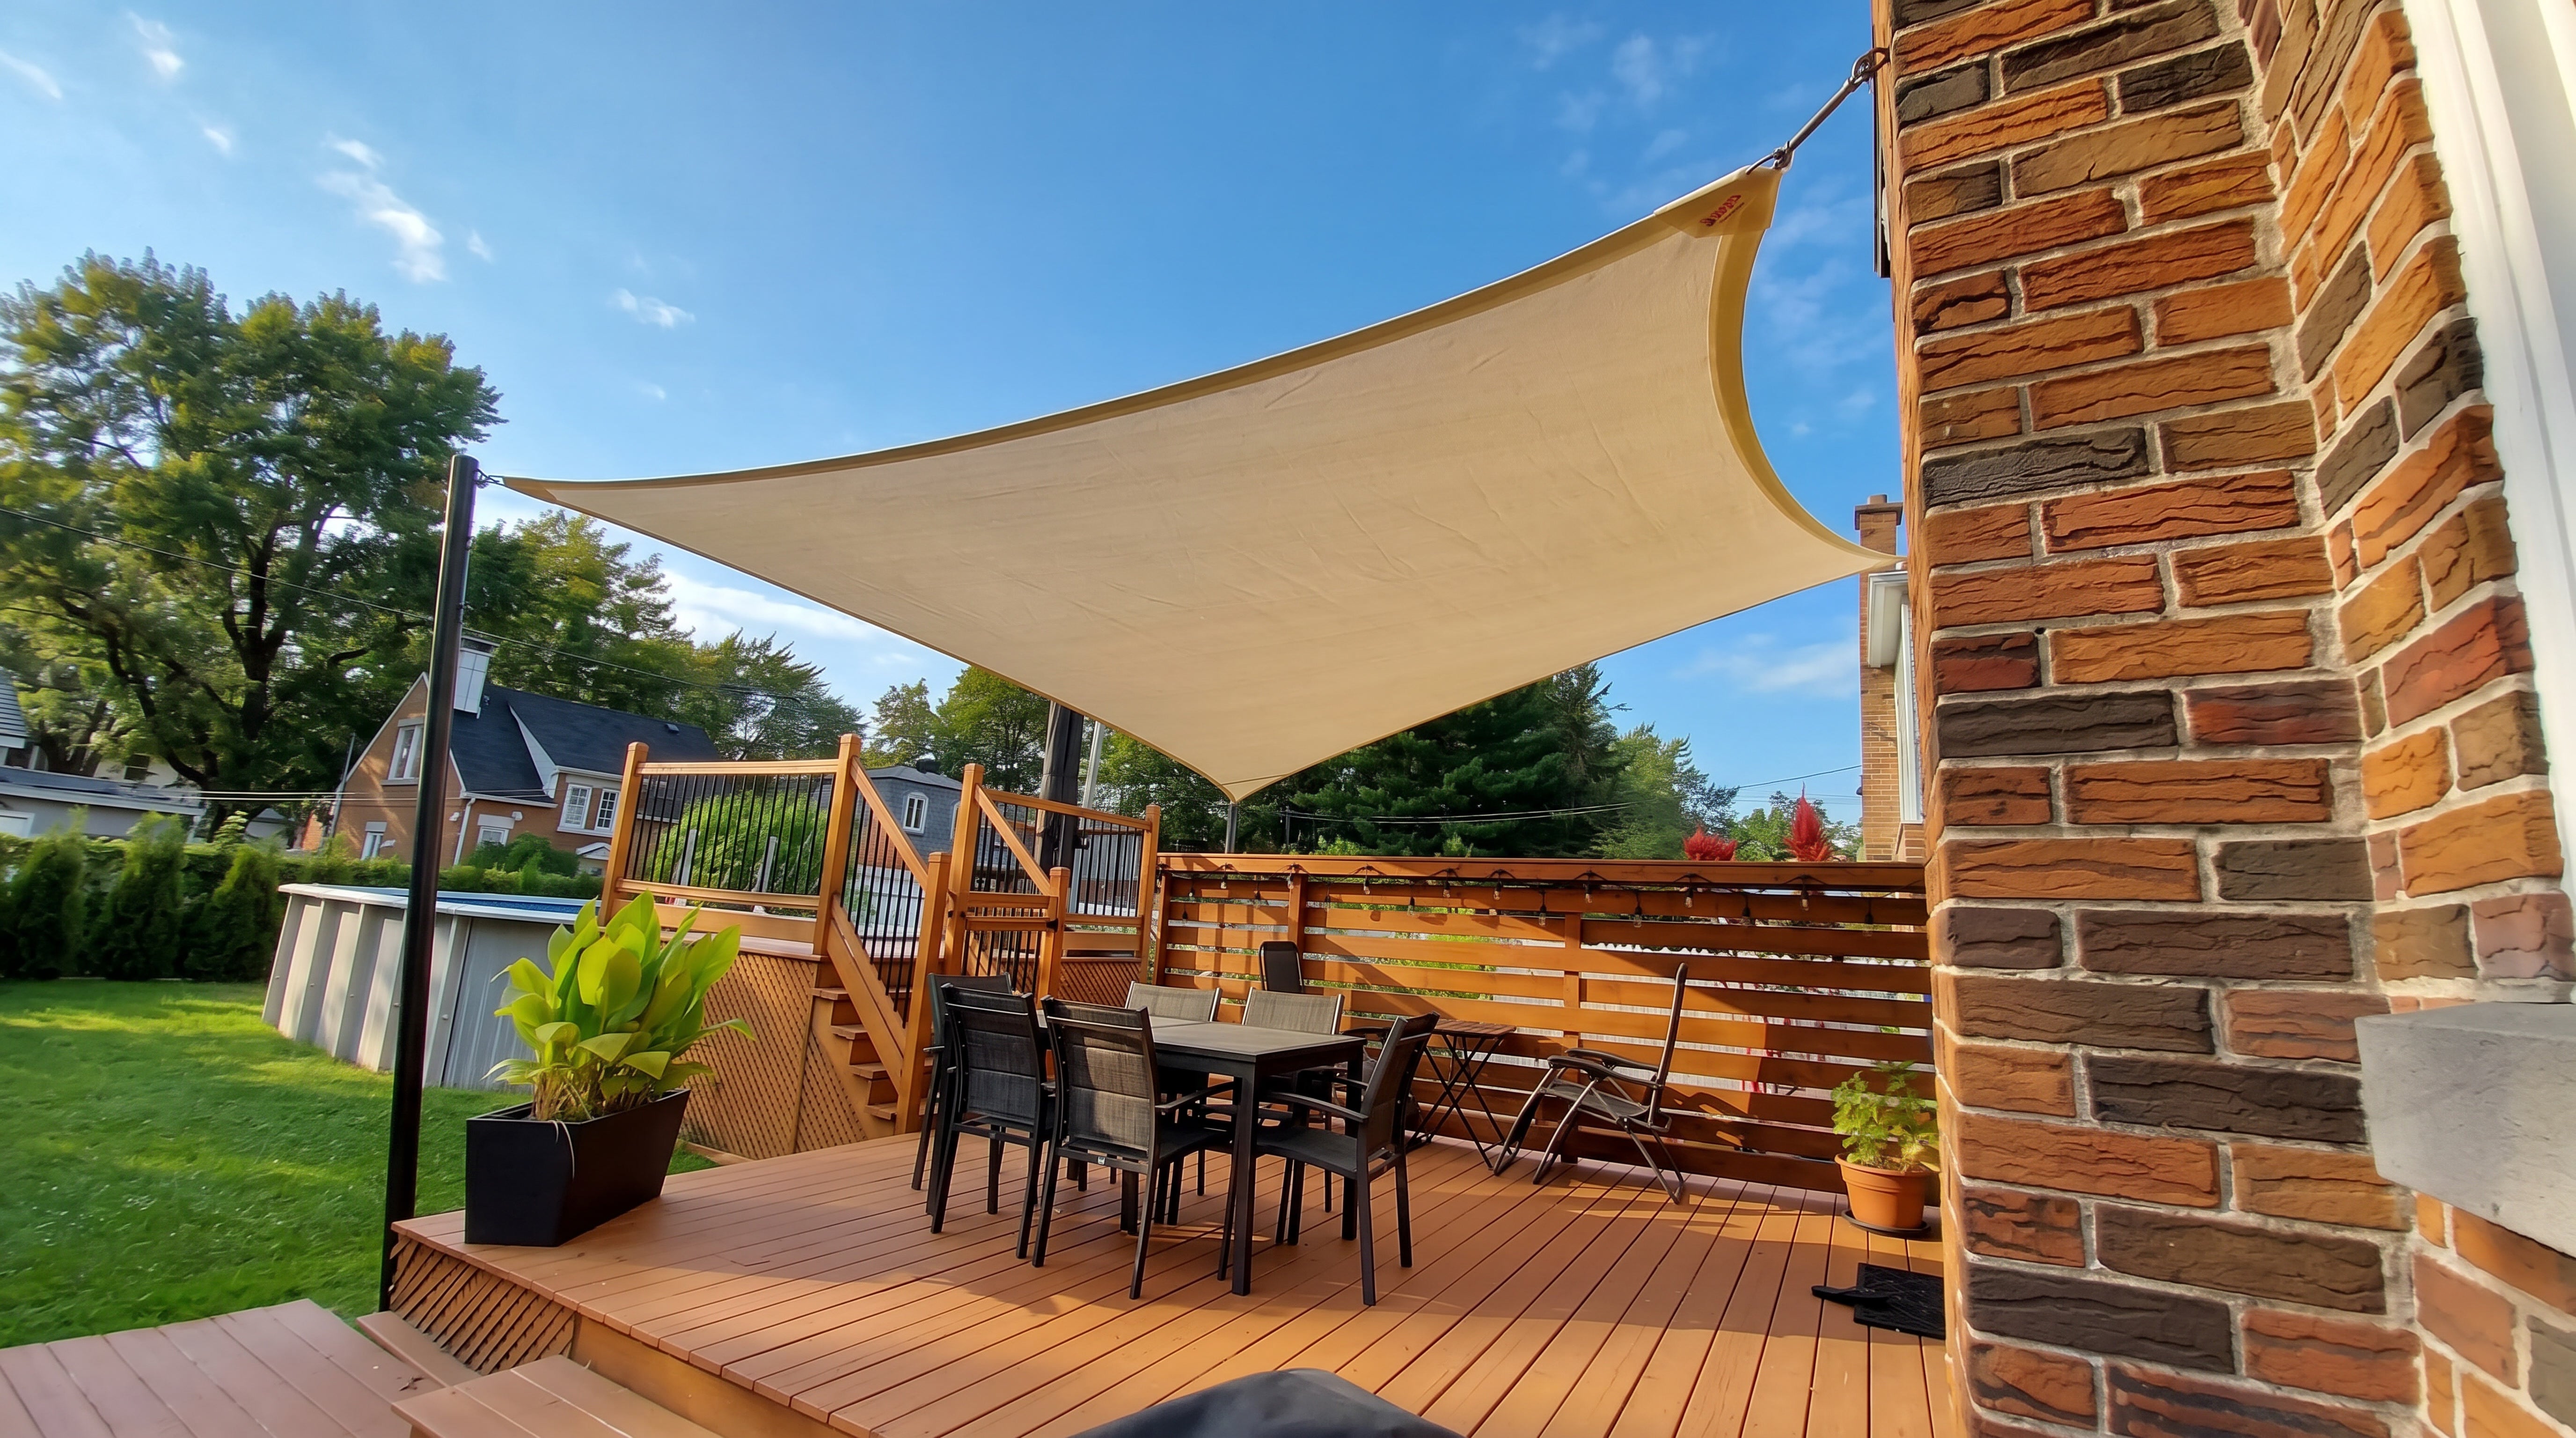
If you want to use your house as one of the fixing points for a Shade Sail, the fixing needs to connect back to suitable structural framing.
Simply attaching an eye bolt to a fascia board, gutter, roof sheet, or other lightweight part of the roof is not enough. A properly designed roof rafter bracket transfers the pull of the Shade Sail back into a suitable roof rafter or other structural member.
Here’s how the basic process works and what you need to consider before installing one.
What Is a Shade Sail Rafter Bracket?
A rafter bracket is a purpose-made steel bracket that creates a strong fixing point above the roofline while transferring the load back into the roof structure.
Depending on the bracket design, it will typically have a plate that fixes alongside the rafter, structural bolts and backing plates, and a rod or eye that extends above the roof.
Your Shade Sail hardware then connects to the exposed eye.
The important part is what you don't see. The strength comes from the bracket being properly connected to suitable structural framing inside the roof, rather than relying on the fascia or roof covering.
Check What Your Roof Is Made From First
Before mounting a Shade Sail fixing point to roof rafters, work out exactly what type of roof framing you have.
A traditional roof may have solid-sawn timber rafters running from the ridge down toward the outside wall. Other homes use prefabricated roof trusses, engineered timber members, or I-joists.
That distinction matters.
Engineered trusses and engineered timber products should not simply be drilled, cut, or modified to accommodate a Shade Sail bracket. If your fixing point involves an engineered truss, the proposed connection should be confirmed by an engineer or the appropriate structural professional before installation.
The same applies if the roof structure is unusually light, damaged, difficult to identify, or if you are installing a particularly large Shade Sail.
How to Mount a Shade Sail Fixing Point to Roof Rafters
1. Decide Where the Finished Fixing Point Needs to Be
Start with the Shade Sail layout rather than the roof bracket.
Work out where you want the finished corner of your Shade Sail and consider:
- The direction the Shade Sail will pull
- The height of the fixing point
- The location of the roof framing
- The size and shape of the Shade Sail
- Wind exposure
- Space required for your turnbuckle, shackle, and tensioning hardware
The roof fixing point needs to work with the overall Shade Sail design.
Moving the bracket several inches to make installation easier can change the final shape of your Shade Sail, so establish the fixing location before taking your final sail measurements.
2. Access and Identify the Structural Rafter
The roof covering generally needs to be lifted or temporarily removed around the fixing location so the bracket can be correctly positioned and the roof penetration can later be weather-sealed.
Locate the actual structural rafter.
Do not assume the fascia board indicates exactly where a suitable fixing point is located, and do not attach the Shade Sail directly to the fascia.
A fascia board is primarily there to finish the edge of the roof and support components such as gutters. Your Shade Sail fixing needs to transfer its load farther back into suitable structural framing.
3. Position the Rafter Bracket
Position the rafter bracket against the structural member according to the bracket manufacturer's installation requirements.
Pay particular attention to the direction of pull.
A Shade Sail does not simply hang downward from its mounting points. Once tensioned, each corner pulls strongly toward the center of the sail, and wind can continually change the forces acting on the fixing.
If the Shade Sail is pulling sideways across the rafter rather than more closely in line with it, the rafter may require additional structural reinforcement to prevent twisting.
This is one of the reasons the complete installation needs to consider the Shade Sail size, shape, fixing height, wind exposure, direction of pull, and condition of the existing structure.
4. Through-Bolt the Bracket to the Rafter
Most purpose-made rafter bracket systems use structural bolts that pass completely through the timber, together with backing plates or substantial washers on the opposite side.
This spreads the load across a larger area of the rafter.
Mark the fixing holes carefully, drill the holes to suit the specified bolts, and install every bolt and backing plate required by the bracket manufacturer.
Do not substitute smaller bolts, omit fixing holes because they are difficult to access, or replace specified through-bolts with ordinary screws.
There is no universal bolt quantity or bolt diameter for every rafter bracket. Different bracket designs use different mounting arrangements, so the installation instructions supplied with your particular bracket should determine the fasteners used.
Also inspect the timber before drilling. Avoid fixing through damaged, cracked, rotten, or otherwise questionable timber.
5. Reinforce the Structure Where Required
A rafter bracket can only be as strong as the structure it is connected to.
In some layouts, additional blocking, bracing, or structural reinforcement may be required inside the roof to distribute the Shade Sail load into adjoining framing.
This is particularly important where the bracket is being pulled sideways, or where the Shade Sail is large or exposed to strong winds.
Do not guess at structural reinforcement. Where additional strengthening is required, an engineer or qualified installer should confirm the final specification.
Weather-Sealing the Roof Penetration
Once the rafter bracket is securely installed, the eye normally needs to pass through the roof covering.
That penetration then needs to be properly flashed for weatherproofing.
For a metal roof, this commonly means using a purpose-made flexible roof flashing that forms around the bracket shaft/eye and matches the profile of the roofing.
For tiled roofs, the roofing around the bracket needs to be carefully reinstated and flashed using a system suitable for that roof type.
The aim is to create a proper weatherproof penetration without placing unnecessary pressure on the surrounding roofing.
Do not rely on simply filling the opening with sealant. A purpose-made roof flashing provides a much better long-term solution, with sealant then used where required as part of the flashing system.
Install Your Mounting Points Before Measuring Your Shade Sail
This step is easy to get backwards.
When you are ordering a Shade Sail, install all of your permanent mounting points first.
That includes your rafter bracket, posts, wall brackets, and mounting eyes.
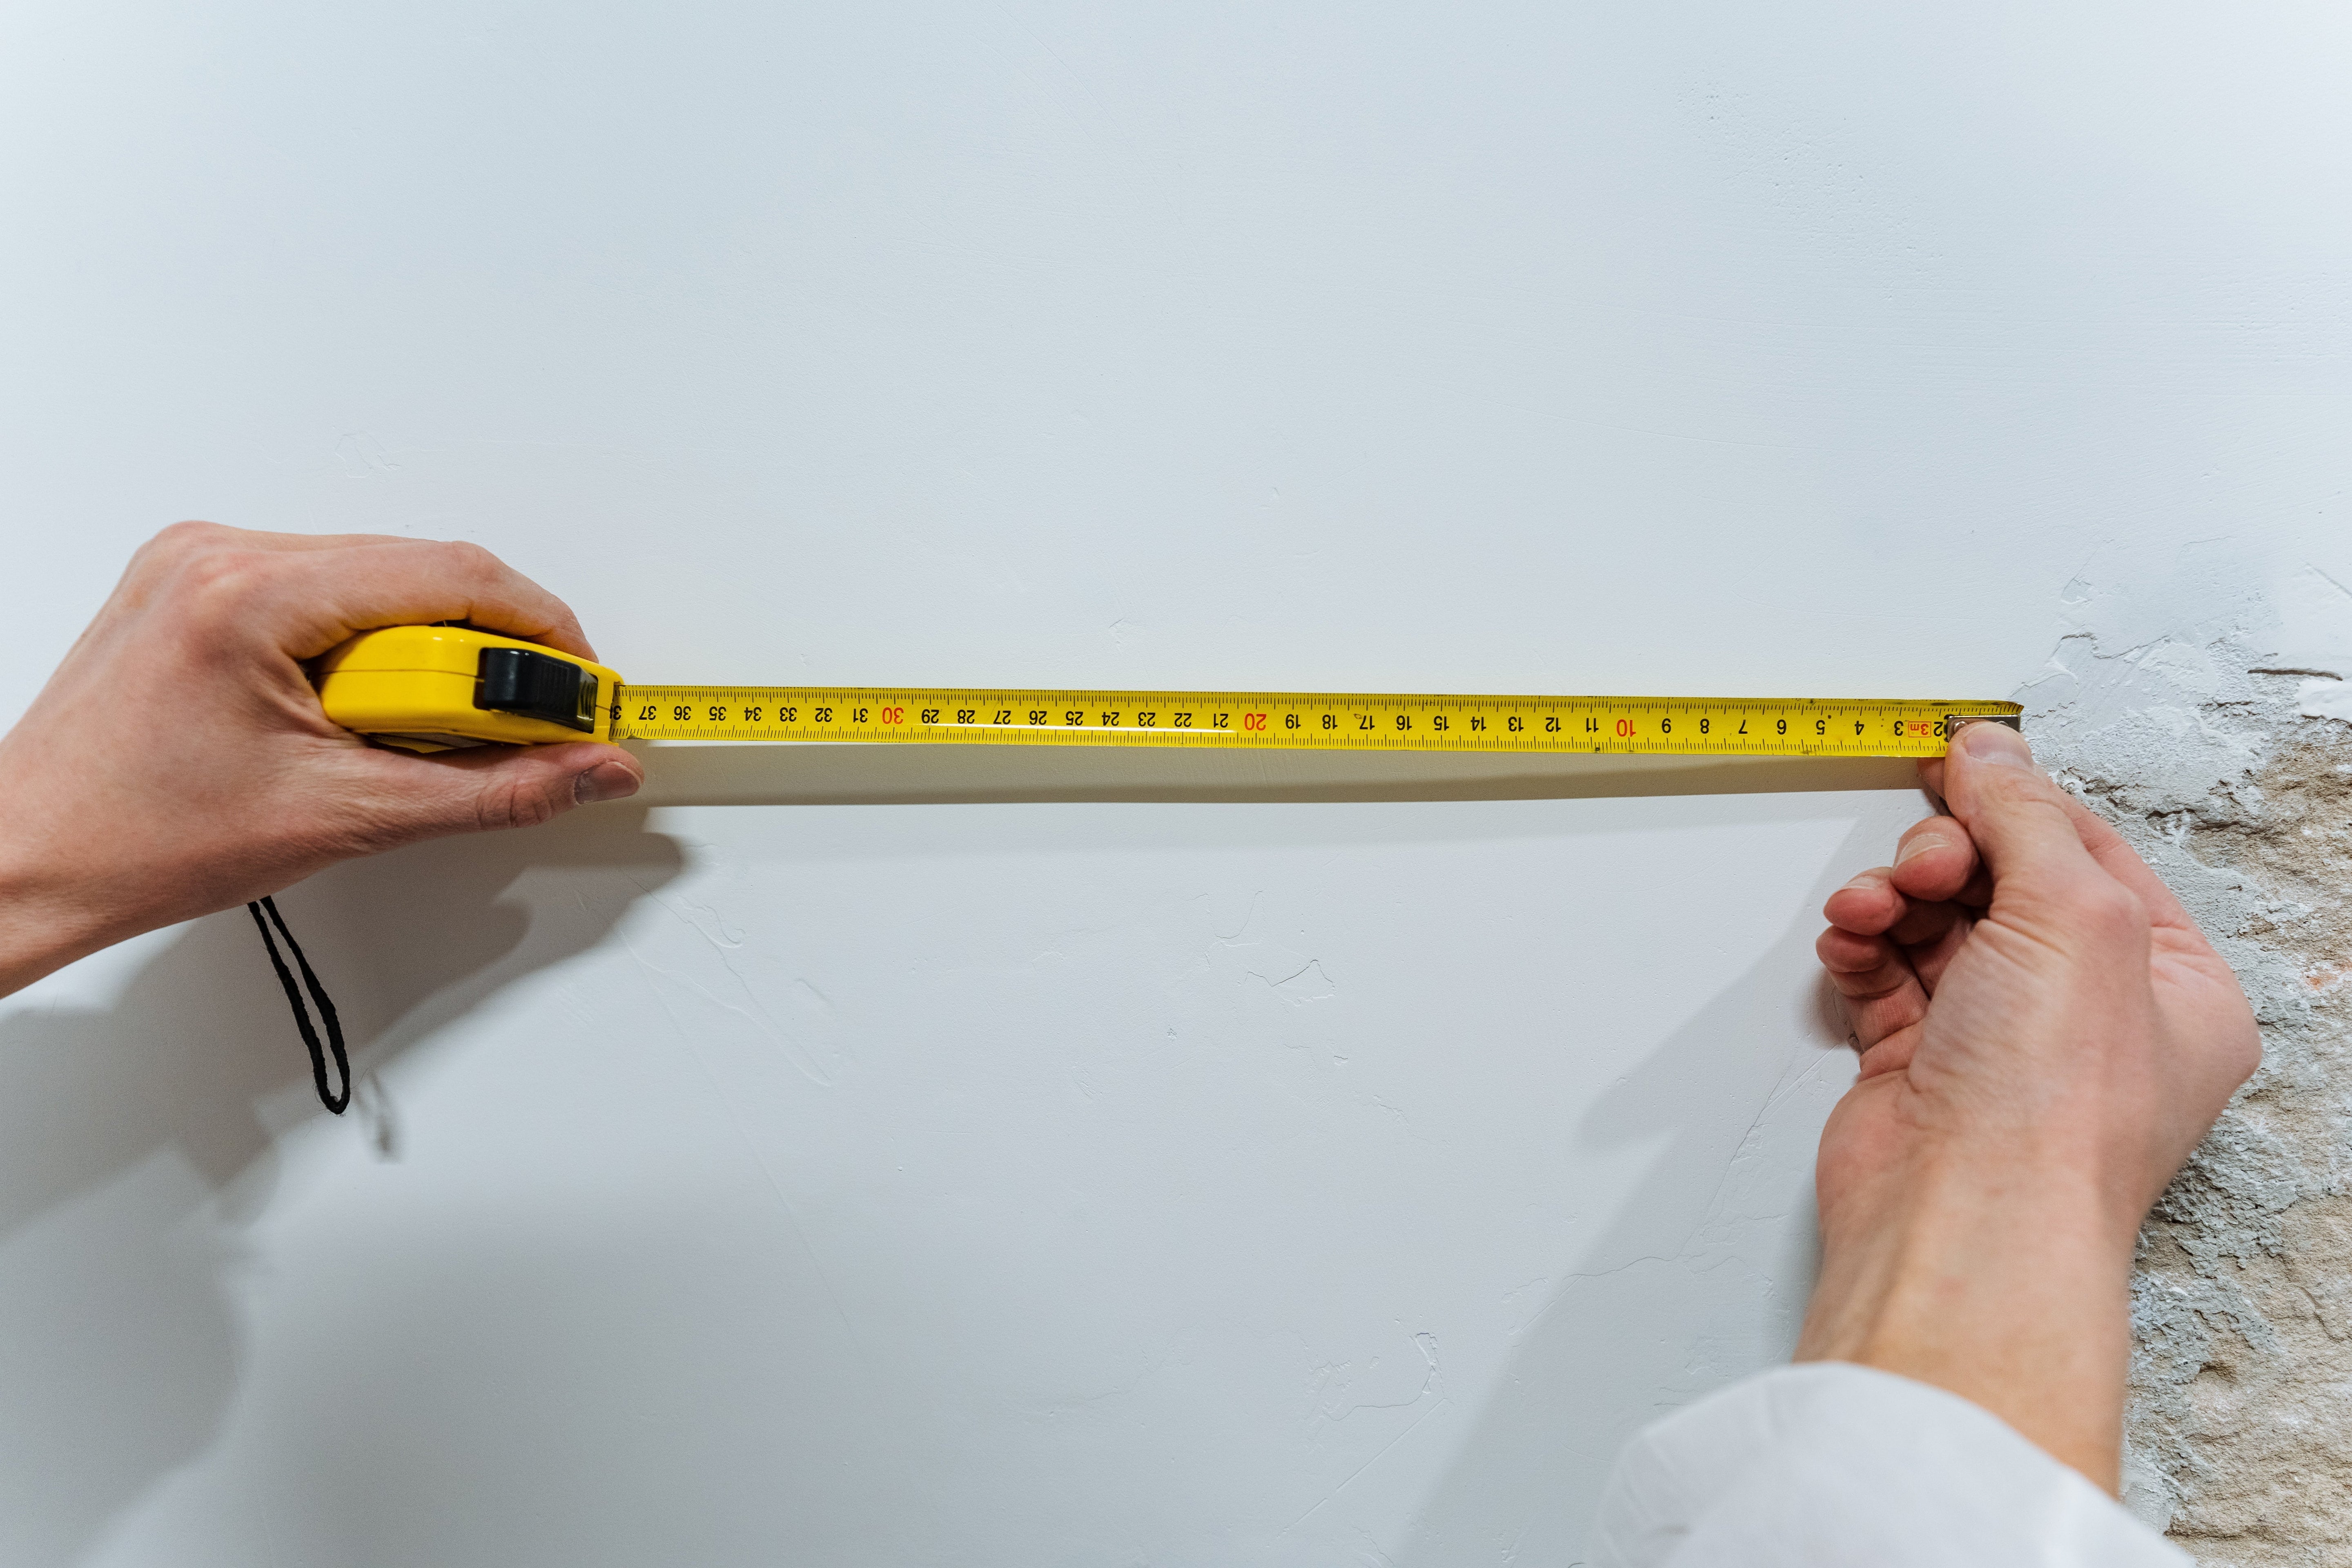
Once everything is in its final position, measure from the inside of one fixing eye to the inside of the next. Measure every edge, required diagonal, and mounting-point height.
A few inches of difference at one corner can affect the fit and tension across the whole Shade Sail. So, never guess your measurements or try to estimate where your rafter bracket will eventually end up.
Getting Your Roof Rafter Fixing Right
Learning how to mount a Shade Sail mounting point to roof rafters is really about transferring the load into the right part of the house.
Use a purpose-made rafter bracket, connect it properly to suitable structural framing, use the specified bolts and backing plates, account for the direction of pull, and properly weather-seal the roof penetration.
Most importantly, get all fixing points completely installed before measuring for your Shade Sail.
Once your roof fixing and other mounting points are in their final positions, use the Shade Space measuring guides to record your exact fixing-to-fixing dimensions, then design your custom Shade Sail to suit the finished layout.










Share:
How to Find a Stud in an Exterior Wall for a Shade Sail