




When planning a Shade Sail over a swimming pool, it is easy to assume the posts should simply go at the four corners of the area you want shaded.
In practice, it is worth spending more time on the post positions.
The best way to approach this is to look at the shade you want, the space you have around the pool, how people use that space, and what the finished Shade Sail might look like. Then you can start narrowing down possible fixing points.
A post that looks perfect on a sketch might end up in the middle of a walkway. Moving another post a few feet farther out could give you a better-looking Shade Sail and more usable space around the pool. You might also discover that an existing building changes the layout completely.
There isn't one standard post position that works for every pool.

Start With the Area You Actually Want to Shade
Before marking out post locations, think about what you're trying to achieve.
Do you want shade primarily over the water?
Are you trying to cover the shallow end where children spend most of their time?
Or is the real priority the poolside seating and lounging area?
These can result in quite different Shade Sail layouts.
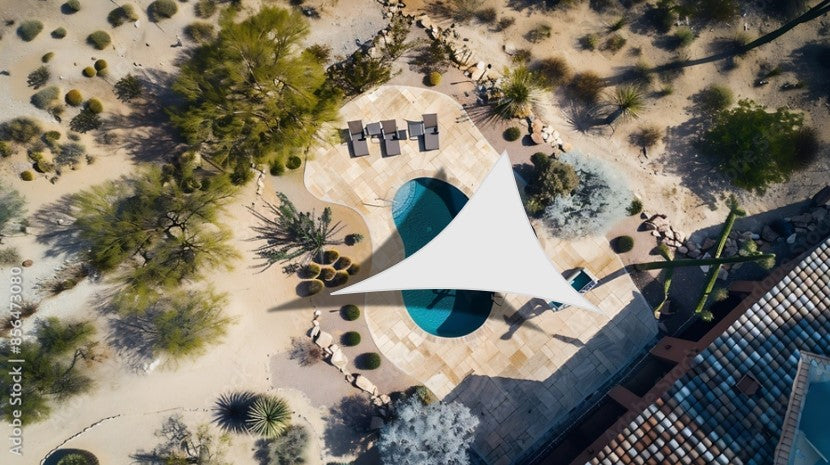
For example, positioning a sail directly over the center of a pool might provide good coverage over the water, but leave the seating area exposed. Moving the overall layout toward one side could potentially shade part of the pool and the area where people actually sit.
It helps to sketch the pool and surrounding area first, then roughly mark the zone you'd like shaded.
At this stage, don't worry too much about exact post positions. Start with the shade area, then look at where the supporting points could realistically go.
Shade Sail Posts Don't Have to Sit Right Beside the Pool
One of the first things worth considering is whether the posts need to be as close to the pool as you initially imagined.
Often, they don't.
There may be room to position a post farther back in a garden bed, beyond the paving or toward the outer edge of the pool area. There are a couple of advantages with being able to do this.
Visually, it may keep the posts away from the immediate pool surround. Practically, it can keep posts out of busy areas where people walk, sit or move around the pool.
It may also provide a more suitable location for the supporting structure.
The important thing is that moving a post changes the geometry of the Shade Sail. You aren't simply moving the same sail farther away. The fixing-point layout determines the measurements and shape of your finished sail.
This is where a custom-made Shade Sail becomes useful. The fixing points can be established around the actual pool area, and the sail can then be manufactured to suit those measurements.

Think Beyond the Pool Paving
When considering Shade Sail post positions, think about how people actually use the space around the pool.
Walk around the area and imagine a post in each proposed location. Would people constantly have to walk around it? Does it interfere with the route between the house and pool? Does it take up valuable space in an already narrow section of paving?
A post may only have a relatively small footprint, but its position can have a big effect on how comfortable and usable the pool area feels.
It is also worth looking beyond the immediate paved area. There may be lawn, garden beds or other open spaces where a post could potentially sit farther away from the pool.
Moving a post farther out can sometimes keep it clear of busy walkways and make better use of the space around the pool. It will change the dimensions and geometry of the Shade Sail, but with a custom-made Shade Sail, that can be allowed for when the final fixing points are measured.
If the pool area is already completely finished, there may be fewer obvious locations to work with. That doesn't mean the closest or easiest position is necessarily the right one.
Don't choose a poor post position simply because it happens to be the easiest place to put one.
Don't Forget About the House
Not every corner of a Shade Sail necessarily needs its own post.
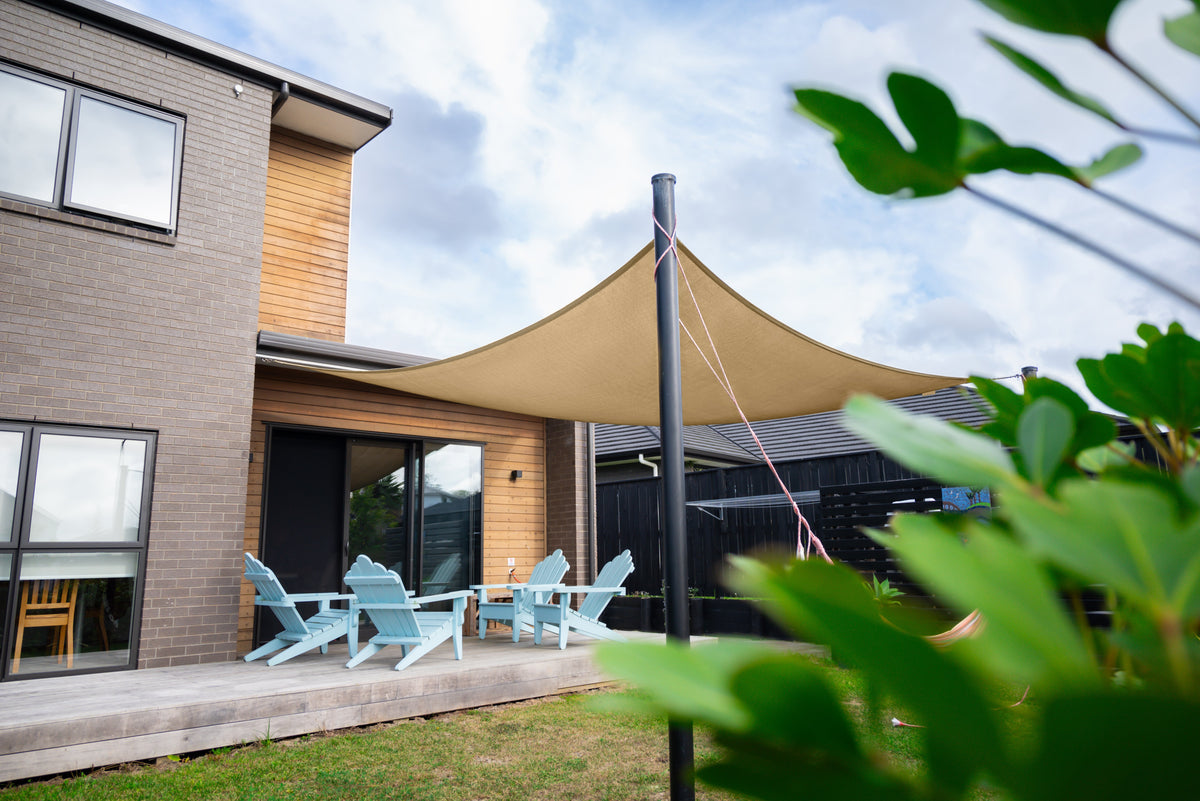
If the pool is beside a house or another substantial structure, there may be potential structural mounting locations worth investigating.
That could change your entire post layout.
For example, instead of surrounding the pool with four posts, a suitable design might use structural building attachment points along one side and posts farther out on the other.
But a convenient wall isn't automatically a suitable Shade Sail fixing point.
The loads from a tensioned Shade Sail need to be transferred into an appropriate part of the building structure. Fascia's, lightweight cladding and other non-structural components shouldn't simply be assumed to be suitable attachment points.
If you're considering a building attachment, the structure and final fixing method should be appropriately assessed.

Consider Where the Sun Is Coming From
If the main reason for installing the Shade Sail is to make the pool area more comfortable during a particular part of the day, think about where the sun is coming from during those hours.
The ideal layout for midday shade may be different from a layout intended to help shade a seating area later in the afternoon.
You don't necessarily need to chase perfect shade coverage throughout the entire day. Shade moves throughout the day so instead, think about when the pool is used most and which area you most want shaded.
That gives you something meaningful to design around.
Posts Also Determine the Shape of the Shade Sail
Post positioning isn't only about where the corners appear on a plan, heights are also important.
Fixing-point height is equally important.
A Shade Sail is a three-dimensional tensioned structure. Varying the height of the fixing points can help create shape through the sail rather than leaving everything on one flat plane.
So, while you're considering whether a post belongs two feet farther left or right, it is also worth considering how the proposed fixing heights might work together.
This can affect the appearance of the finished installation considerably.
It is another reason to think of the posts and Shade Sail as one system rather than treating the posts as something to install first and figure out later.
Leave Room for the Fixing Hardware
Remember, the finished corner of the Shade Sail won't extend all the way to the post.
There needs to be space between the sail and its fixing point for the required attachment and tensioning hardware.
This matters when laying out your posts.
If you mark four points around a pool based on the exact corners of the Shade Sail you imagine overhead, the finished sail itself will need to be smaller than that fixing-point layout.
The amount of allowance required will depend on the sail size and hardware kit being used, so it should be accounted for when your final measurements are established.
Try a Few Different Post Layouts on Paper
You don't have to settle on your first layout, in fact, it is worth drawing several.
Sketch a simple plan of your pool and experiment.
What happens if the posts move farther away from the water?
Could one post move into a garden bed?
Would a slightly larger fixing-point footprint keep the posts away from the main walkway?
Is there a potential structural building attachment that changes the required number or location of posts?
Could a different Shade Sail shape suit your available fixing points better?
You may find that a layout that initially seems less obvious actually works much better with the pool area. This is also a good time to take photographs from several directions. Photos can reveal things that aren't obvious on a basic plan, such as rooflines, fences, retaining walls, landscaping and differences in ground level.
What If There Isn't a Good Place for a Post?
Sometimes you work through the layout and realize the obvious post positions simply don't work.
Perhaps there is paving everywhere, landscaping you don’t want to disturb or maybe the proposed post would block an important walkway. That doesn't necessarily mean a Shade Sail won't work.
It may mean you need to reconsider how the Shade Sail is going to be supported, rather than forcing a conventional post into an unsuitable position.
This is where our 3 Ways to Install a Shade Sail Over Your Pool guide is useful. It looks specifically at the different approaches that can be considered depending on whether a pool is still being planned, under construction or completely finished and landscaped.

Before You Settle on Your Shade Sail Post Positions
The best Shade Sail post layout around a pool isn't necessarily the one with the shortest distance between the posts. Spend some time looking at your whole area.
Consider what you want shaded, when you want it shaded, how people move around the pool, where posts could sit without becoming obstacles, and whether there are other potentially existing fixing locations around your property.
With a custom-made Shade Sail, you don't need to position the posts simply to fit an off-the-shelf sail. Start by finding fixing locations that make sense around your pool, then measure between those established points and have the Shade Sail made to suit the space.
Once you have decided on your possible layout and you have installed your mounting points, use the Shade Space measuring guides to gather accurate fixing-point measurements for your custom Shade Sail.








Share:
Shade Sail Installation Levels | ShadeSpace